• Recipes
  • FAQ
  • Testimonials
  • Nav Social Icons

  • Skip to primary navigation
  • Skip to main content
  • Skip to primary sidebar
  • Skip to footer
  • Home
  • About
  • Services
  • Portfolio
  • Blog
  • Recipes
  • Testimonials
  • FAQ
  • Contact Me
  • Mobile Menu Widgets

    Connect

    Search

    Connect

Made of Philo | Tina Gravalos

Made of Philo | Tina Gravalos

Just another WordPress site

  • Home
  • Meet Tina
  • Work With Me
  • Blog
  • Portfolio
  • Contact
Healthy Easy Recipe, Food Photography, Food Blogger

Buckwheat Flour Pizza Crust

January 21, 2021 · In: Recipes

Jump to Recipe Print Recipe

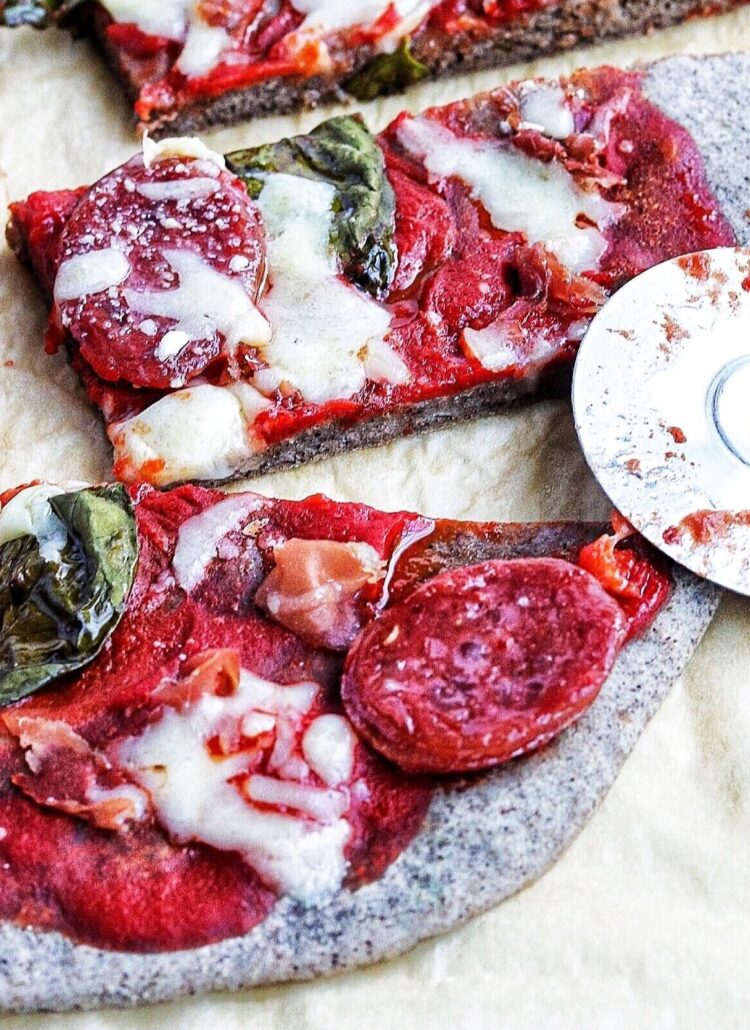
Just a girl and her love for pizza! The real deal will always be my favourite, there is no denying that but, I like experimenting with different flours that are a little bit nicer on my digestive system. ⁠I made this crust with buckwheat flour to try something a little different (it’s gluten-free!).⁠

Buckwheat Flour Pizza Crust

Print Recipe

Ingredients

  • 1 cup buckwheat flour light or dark
  • 2 tablespoons tapioca flour⁠
  • 1 teaspoon baking powder⁠
  • Generous pinch of sea salt⁠
  • Generous pinch of black pepper⁠
  • 2 tablespoons nutritional yeast
  • All the herbs + spices! I used garlic powder onion powder, dried oregano, dried parsley, dried basil - I didn't measure these but I put quite a bit. I like a lot of flavour. I would say I did about 2 tablespoons of each. Start with one and work your way up based on your preference. ⁠
  • 1 cup filtered water⁠
  • 3 tablespoons extra-virgin olive oil⁠
  • Toppings of choice⁠

Instructions

  • Preheat oven to 400 degrees F and line a large baking sheet or pizza pan with with parchment paper.⁠
  • In a large bowl, add the buckwheat flour, tapioca flour, baking powder, nutritional yeast, salt, pepper and spices in stir to combine.⁠
  • ⁠Add the olive oil and water and mix until you get a dough like consistency. I should still be wet and like a cake batter consistency. ⁠
  • ⁠Pour mix onto your pan, using the back of a spoon or a spatula, evenly spread (whatever shape you want - circle, square, rectangle, etc.) the batter as much as you can - you want the crust to be super thin (almost paper thin).⁠
  • Bake in the oven for 15-20 minutes. ⁠
  • ⁠Remove from oven and add your topping.⁠
  • ⁠Put back in the oven for another 5-10 minutes to cook toppings.⁠
  • Cut into pieces and enjoy!⁠
  • I added the recipe to my website in a printable version too!⁠

By: Tina Gravalos · In: Recipes

you’ll also love

Cranberry Orange Muffins
Healthy Easy Recipe, Food Photography, Food BloggerDairy-Free Garlic Scape Pesto
Healthy Easy Recipe, Food Photography, Food BloggerDairy-Free Alfredo Style Sauce

Join the List

Stay up to date & receive the latest posts in your inbox.

Next Post >

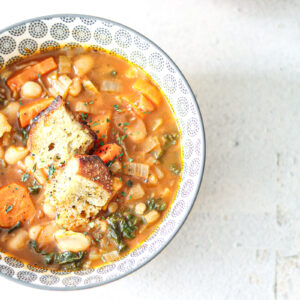
Hearty White Bean and Veggie Soup (with croutons)

Primary Sidebar

Meet Tina

Meet Tina
hello!

I’m a food photographer, recipe developer & holistic nutritionist from Ontario, Canada.

Read More

Connect

join the list

Featured Posts

Healthy Easy Recipe, Food Photography, Food Blogger

Nothing better than local honey!

Cranberry Orange Muffins

Healthy Easy Recipe, Food Photography, Food Blogger

Dairy-Free Alfredo Style Sauce

Categories

  • Nutrition
  • Snacks
  • Lunch
  • Dinner
  • Breakfast

Search

Archives

Advertise

Food Photograpy Ad Use Code: simplytina to get 15% off on courses, templates and more!

follow along

@madeofphilo

Sour Candy Lemonade Popsicles! 🍭 The first lo Sour Candy Lemonade Popsicles! 🍭 

The first long weekend of the “summer” is heeeere! 💃🏻 

I’m ready for popsicles! 🤭 These have sour candy in them! It’s like nostalgia to the max. 🥰 

Please enjoy these popsicles as much as I did! 🎉 And happy long weekend Canadian friends! 🤗 

Ingredients:

🍋 1/2 cup Lemonade

🍋 1/2 Lemon (juiced)

🍋 1/2 Lime (juiced)

🥥 1 cup Unsweetened Coconut Yogurt

🍁 3 tbsps Pure Maple Syrup

🍬 1/2 - 1 cup Sour Candy (Sour Keys and Sour Gummi Bears) - all from @bulkbarnfoods 

Directions:

In a blender, add the lemonade, lemon juice, lime juice, yogurt, and maple syrup. Blend until smooth.

Prepare a popsicle mold by placing a few candies in each mold. 

Add the popsicle sticks (depending on the type of mold you’re using). Pour the lemonade mixture into each mold.

Place in the freezer for at least six hours or until completely frozen. Remove from the popsicle molds and enjoy!

#summerrecipes #popsiclerecipes
Dreaming of all the cherries I’m going to devour Dreaming of all the cherries I’m going to devour this summer. 😍

My top five summer fruits are:

1. Cherries
2. Peaches
3. Strawberries 
4. Watermelon 
5. Raspberries 

What are yours!? 

#foodphotographer #recipedeveloper #gtafoodphotographer
Some of my favourite shots (& recipes) I did for @ Some of my favourite shots (& recipes) I did for @healthybymarjan and her jam packed self-paced guides like The Migraine Protocol & Feeding Your Feminine Guide. 📸🩷

#foodphotographer #recipedeveloper
BAKED BERRY FRENCH TOAST 🫐 Made with deliciou BAKED BERRY FRENCH TOAST 🫐 

Made with delicious sourdough bread, maple syrup, vanilla, coconut whip and berries 😍 Annnnd a salted maple pecan & almond topping! 🤤 

Full recipe is here: https://www.bulkbarn.ca/en/Recipes/What-s-New!/Baked-Berry-French-Toast 🤗 

#brunchrecipes #breakfastrecipes #sourdoughrecipes #simplerecipes

Footer

On the Blog

  • Nutrition
  • Snacks
  • Lunch
  • Dinner
  • Breakfast

Info

  • About
  • Contact
  • Privacy

stay in the know

Copyright © 2025 · Made of Philo